


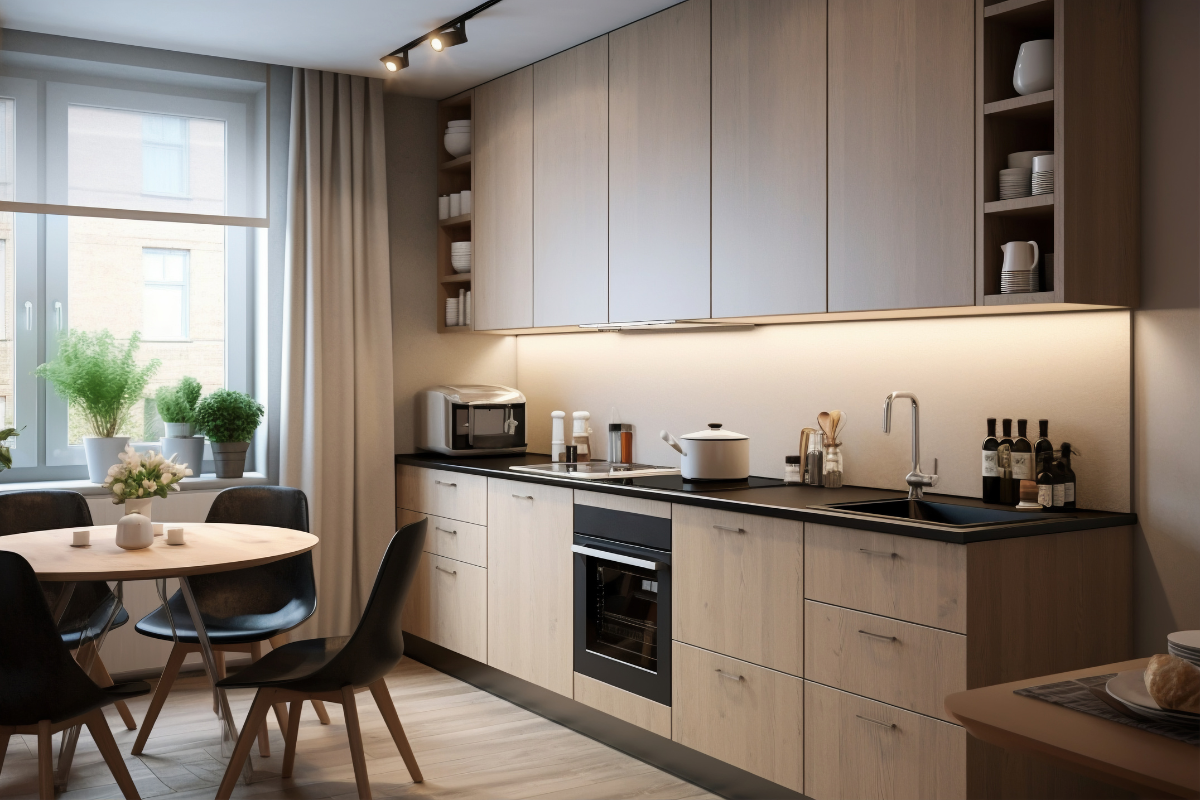
Putting up kitchen cabinets is an important step during a kitchen renovation or remodeling. Whether you are an experienced DIY hobbyist or a home owner attempting to cut costs, safety should be number one on your list.
Then, in this post, we will help you understand how to safely install kitchen cabinets and the required steps, tools and precautions. We will ensure that by the time you are done with measuring and leveling up to securing cabinets on the wall, you have what it takes to complete this project without comprising your wellness.
Now let’s jump into creating a functional beautiful cooking area!
How To Install Kitchen Cabinets Safely
Have your cabinet ready but no handyman; so, how can you do it? The following basic steps will help!
1. Check Your New Cabinets
When the new cabinets for your kitchen are delivered, look at them closely. Whether they come assembled or not, make sure there is no damage and everything is included in the package.
If your cabinets are pre-assembled, unbox them and check you have all the components: cabinet boxes, shelves, doors as well as drawer fronts. Also inspect if some extra trim and filler strips came along.
If however you have to assemble your own cabinets, follow the manufacturer’s instructions. Hold on with hardware attachment until later when you can also avoid damaging them while fixing other things such as doors or drawer fronts.
2. Set The Cabinet Height And Cabinet Order
Setting the height and order of the cabinet is a crucial task in ensuring a successful kitchen cabinet installation. Especially in an old house, finding the highest point on the kitchen floor is far from being easy.
This entire process will be based on the highest part. Nevertheless, imagine that there is a high spot in your floor and locate it, because shimming up a cabinet to make it level and plumb is easier than cutting the bottom to fit.
To find out the highest spot, place an 8-foot-long 2×4 board flat on the floor along the wall where you’ll install the cabinets. Take a carpenter’s level and set it on top of this board after leveling until you get such reading.
The floor should be marked at that end which is high. Proceed and do so twenty four inches away from the wall using a straight edge or level kept parallel to the wall where fronts of cabinets will sit. Now compare the highest point on front with back down walls for reference marks whichever higher.
3. Highlight the Top of the Base Cabinets
First of all, to maintain uniformity it is necessary to identify the highest point of the floor. Therefore from this high point one can move up 34 ½ inches and mark the wall. Consequently, transfer this marked level line on to the entire room that has been earmarked for the base cabinets.
Begin with dry fitting the corner piece, then check whether they match exactly with the leveled line you drew earlier. Then we need to find out where each cabinet box goes on the wall but do not forget cabinet faces are broader than cabinet boxes on either side.
Secondly, test measurements for dishwasher, sink and stove openings also ensure that pre-installed cabinet doors open in the right way. In order to facilitate installation of those drawers or doors without any difficulty lower the drawer and remove doors from base cabinets.
4. Highlight the Bottom of the Wall Cabinets
Begin by using a level to mark the bottom of the wall cabinets. Measure 19 ½ inches from the top line of the base cabinets. This is so that there will be a one and a half inch thick countertop and enough room remains between the countertop and upper cabinet surface as per building codes.
Move around with your pencil and carpenter’s level, marking where you want to install all your upper cabinets on this wall. This is for planning purposes, to determine whether everything will fit or not.
First fix the wall cabinets before placing them on the floor. These will allow you free access to work besides avoiding further damages on your base cabinets during installation. When marking, consider any molding or trims which may interfere with cabinet placement.
Ensure that all marks are vertical and horizontal, so that there are no problems related to proper installation of storage units. Also, allow for appliances in addition to making sure that doors can open freely without any obstructions.
5. Find Wall Studs
A stud finder can be used initially to locate the wall studs. These detect variations in density behind the drywall, and show where the studs are.
When you find a stud, draw it with your pencil at its midpoint. Go along the wall again using this process of marking several more central areas of different kinds of woods on their surfaces. The latter will work as points of reference for mounting cabinets.
Using a builder’s level, run vertical lines from these marked centers to ensure that they are plumb (perfectly upright). These lines will guide how you place your cabinet.
Place your cabinets against the wall that you have chosen for installation. Draw studs’ location marks from the walls onto each cabinet’s backside with a pencil. You will know where to attach them by following these marks from your cabinets onto those of the rods.
To make attachment easier, drill small pilot holes at the top and bottom of each cabinet where you’ve marked the stud locations. These pilot holes will steer your screws and prevent splitting or damaging the cabinet material.
If you painted your walls and don’t want any marks made by pencils, you may consider painter’s tape. On each stud location on the wall put painter’s tape and directly mark its centerline on it itself .
6. Choose The Appropriate Hardware
To securely install kitchen cabinets, it is very important to choose the right hardware. Here’s our suggestion:
- On Wall Studs
For this purpose, a screw with a built-in washer head that is 3 inches #10 will suffice to anchor the cabinet directly onto wall studs.
- For Drywall Installation
However, if you haven’t found any wall studs to anchor the cabinets on, then using toggle bolts for mounting them into the drywall itself may be necessary but as a last resort. Toggle bolts need pre-drilled holes and must be used carefully especially when coupled with another adjacent cabinet to provide additional stability.
- Reinforcing the Wall
Alternatively, strengthen the wall at points where cabinets will be attached. Take out about a 6-8 inch strip of drywall or plaster and put in 2 x 6 blocking between studs. This area should be covered by a plywood cut to fit so that it lies flush with the existing wall surface and provides solid back support for attaching cabinets.
Make sure that the chosen hardware can hold up under the weight of both cabinets as well as their contents. For heavy units, you might consider using more support brackets or even go in for a rail system which spreads weight across multiple studs.
7. Begin Installing the Corner
While starting your DIY installation of kitchen cabinets, initiate it in a corner where two runs of assembled kitchen cabinets will meet. After that, remove cabinet doors and put them aside to facilitate working with the cabinet boxes while installing.
Using the stud locations, mark out the wall onto the cabinet’s installation rail(s). When you start screwing in the installation rail, you will be able to keep the cabinet on the wall later. Next position it on any relevant wall stud marks.
Make use of a level to confirm that this is straight. Use blocks if required for proper leveling and flattening against walls.
For your wall type, attach corners using suitable hardware. For example, for mounting to wall studs prefer 3-inch #10 screws with washer heads. Alternatively consider toggle bolts when mounting into drywall if there are no studs available.
Afterwards install remaining cabinets by moving towards outward from these corner ones at both sides. Do not hesitate to carry out similar procedures in each subsequent cabinet so as to keep proper alignment and also levelness intact.
8. Put The Cabinets Together
It is important to secure kitchen cabinets together during installation to guarantee stability and seamless finishing. Therefore, begin by installing the first cabinet which should be tightly fixed to the wall. Use suitable fasteners like screws or toggle bolts.
Apply C-clamps on the next cabinet attaching it to the first one. Place the second cabinet close to the first one aligning their edges with each other. Keep adjusting until it becomes even with the first one, and the carpenter’s level will help you check alignment.
When needed, insert wood shims between cabinets to obtain a perfect fit in order to adjust for any irregularities in either your floor or wall.
Drill pilot holes through the face frame of this 2nd cabinet that are positioned just above or just below every door hinge point so as not to split or damage its wood material.
Fasten The second cabinet to the first cabinet using suitable fasteners. Countersink the screws slightly below the surface of the face frame for uniform appearance. Ensure they are thoroughly tightened without overdoing it.
Remember to never connect your cupboards with side panels since this would affect their structural strength. Thus, attach them via their face frames only, leaving no room for doubt about their union and solidity of joining.
9. Install The Remaining Cabinets
Begin by mounting the cupboards to the walls loosely without tightening all screws. This allows for adjustments and alignment as more cabinets are added. Use 3-inch, #10 screws for mounting but leave them slightly loose until all cabinets are in place.
Carefully drill a 3/16-inch pilot hole through the back of each cabinet at each stud location. The pilot holes should go into the wall studs, which will act as a guide for the mounting screws.
Position the cabinet against the wall, aligning it with previously installed units. Make use of the carpenter’s level to ascertain that it is well horizontal. Add shims behind the cabinet if necessary so that it is properly leveled.
When all cabinets have been attached and aligned, go back and tighten down on all of the mounting screws. Ensure that they are firmly seated against the back panel of the cabinet but be cautious not to overdrive them to avoid damaging its surface.
After you have tightened up everything double check that all cabinets remain level and flush with each other. During the tightening process use a level tool to ensure there was no shifting. Also do any additional final adjustment required so that you straighten out and secure your entire cabinetry properly.
10. Adjust Drawers
Completing the adjustment of your kitchen drawers is the final stage of your DIY installation in order to have a smooth and uniform look. Here’s how you can do this:
Step 1: Check Drawer Faces
After finishing putting up all cabinets and reattaching all doors, check out the drawer faces. Make sure that they are leveled in a horizontal direction and evenly spaced between each other so as to maintain consistency.
Step 2: Adjust The Drawers
Identify screws which attach the drawer glides to cabinet frames. Loosen those screws just slightly so that the drawer can be adjusted vertically. Carefully now, move this drawer upwards or downwards until it is in perfect alignment with its neighboring doors or drawers.
Once it has been aligned, fix back these screws for holding up the glide in its place.
Step 3:Secure The Drawer
To make sure that even after closing and opening the door many times, it will still remain at a locked position, you have to take an 1/8th inch pilot hole through 2nd hole below glider; then, drive 5/8th inch #8 screw into pilot hole, turn into position locking up front of the drawer.
Step 4: Careful Inspection
Step back and look at various angles around cabinet drawers and doors. Survey their alignment for uniformity as well as spaces between them because all faces should be flush with the frame.
In case, make some last changes in positions of drawers just to create unity among them. Confirm if all units slide smoothly without sticking or misaligning when opened or closed respectively.
Final Verdicts – Try Revecuisine
Even though this guide is detailed, we know that do-it-yourself kitchen cabinet installation can be challenging. It is better in this case to contact professionals like Revecuisine.
Our services are all-inclusive, starting from consultations to installations and with no extra charges involved as we have more than 10 years of experience in the industry. Therefore, it will be a very stress-free process through which you will get quality work done to perfection.
We handle everything from 3D modeling to measurements and delivery so that your kitchen becomes realizable. Trust revecuisine as your partner in creating the kitchen of your dreams.
Call us now for firsthand experience.

 1661 boul. Daniel-Johnson, Laval (QC)
  450-682-8868
 revecuisinelaval@gmail.com
 Mon.-Sat.: 10:00 - 17:00